

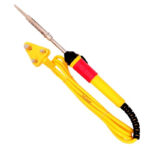
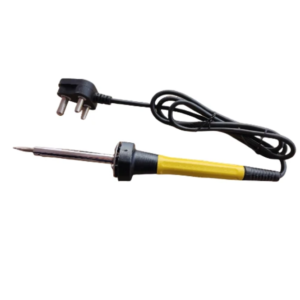
25 Watt Basic Low Cost Soldering Iron
Original price was: ₹120.00.₹72.00Current price is: ₹72.00.
- Description
- Additional information
- Reviews (0)
Description
Experience versatile soldering with our 25 Watt Basic Low Cost Soldering Iron. Compatible with various tips, it offers quick heating for precise soldering. A reliable tool for joint workpieces. Shop now!”
Product Specifications:
- Manufacturer : Various
- Standard & Good quality
- Power : 25W
- Tip : Normal Tip
Explore our free YouTube videos and blog for valuable soldering tips.
Soldering is a technique used to join two or more metal components together using solder, a metal alloy with a low melting point. Here’s a step-by-step guide on how to do soldering:
- Prepare your work area: Ensure you have good lighting and a well-ventilated space. Place a heat-resistant mat or surface to protect your work area.
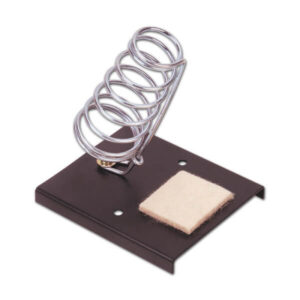
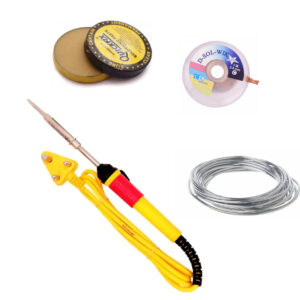
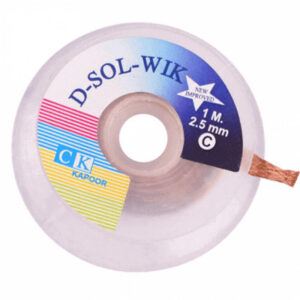
- Gather the necessary tools and materials: You’ll need a soldering iron, solder wire, flux , soldering stand, soldering sponge or wet cloth, and the components you want to solder.
- Prepare the soldering iron: Plug in the soldering iron and allow it to heat up. Most soldering irons have an adjustable temperature setting, so set it according to the solder and components you are using.
- Clean the components: Use a wire brush or sandpaper to clean the surfaces you want to solder. This ensures good contact and helps the solder flow smoothly.
- Apply flux (if needed): Flux is used to remove oxidation and promote solder flow. Apply a small amount of flux to the areas you will solder.
- Tinning the soldering iron tip: Once the iron is heated, clean the tip by wiping it on a damp sponge or wet cloth. Then, apply a small amount of solder to the tip to create a thin coat. This process is called “tinning” and helps with heat transfer and solder flow.
- Soldering the components: Hold the soldering iron like a pen and touch the tip to the joint of the components you want to solder. The joint should be heated for a few seconds before applying solder.
- Apply solder: Touch the solder wire to the heated joint, not the soldering iron. The heat will melt the solder, and it will flow and fill the joint. Apply just enough solder to form a small fillet or bead.
- Remove the soldering iron: Once the joint is filled, remove the solder wire first and then the soldering iron. Allow the joint to cool and solidify naturally. Avoid moving or disturbing the joint during this process.
- Clean and inspect: After soldering, clean the tip of the soldering iron on a damp sponge or wet cloth to remove any excess solder or debris. Inspect the soldered joint to ensure it is solid, without any visible cracks or gaps.
Remember to practice caution while soldering, as the soldering iron gets extremely hot and can cause burns. Use safety glasses and work in a well-ventilated area.
It’s also recommended to refer to specific soldering guidelines for the components or projects you are working on.
Explore More…
Complete Guide to Soldering on a PCB: Tips, Techniques, and Safety Precautions
Soldering on Multipurpose PCB:
Soldering on Printed Circuit Board (PCB) :
* Product Images are shown for illustrative purposes only and may differ from actual product.
Additional information
| Power Supply | AC 230V , 50HZ |
|---|
Only logged in customers who have purchased this product may leave a review.


Reviews
There are no reviews yet.